
Agamograph GeneratorThree pictures → one kinetic engraving
No problem: there's likely a public-library makerspace near you with a laser cutter. Many let you use the machines free with a library card; you just pay for materials.
Three pictures in one piece of kinetic art: one from the left, one from the right, one head-on. Laser engraved and cut, nothing to print or glue. No signup.
Upload three pictures and the tool builds the piece: a board engraved with the front picture, and a set of thin strips engraved with the left picture on one face and the right picture on the other. The strips have teeth that push into slots cut in the board. Walk past it and the picture changes three times. The 3D view on the canvas shows the finished piece from every angle before you cut anything; switch to the three sheets when you are ready to download.
Made for first-time makers. Every earlier way of making an agamograph needed careful hand alignment between a printed picture and a cut. Here every engrave and every cut lives in the same laser file, and the one time the material has to turn over, the laser has already cut it the jig to land in.
One sheet of 3 mm (1/8 in) plywood, or 2 mm for the Fine Detail preset, and a laser that can engrave pictures and cut through it. The Standard preset's strip sheet is about 240 × 130 mm, so it fits an entry-level 300 × 200 mm bed with room to spare.
Art teachers, STEAM educators, library makerspaces, and anyone who wants a gift that does something when you walk past it. The DesignerBee crew loads as a sample so you can cut one straight away, then swap in your own three pictures.
An agamograph is kinetic art that shows a different picture depending on where you stand. This one has three: thin engraved strips stand on an engraved board, so you see one picture from the left, another from the right, and a third head-on between the strips.
No. Everything is engraved and cut by the laser from one sheet of material. There is nothing to print, align by hand, or glue, which is exactly why this version replaced the old paper-and-cardboard method.
Any laser that can engrave a picture and cut through 3 mm plywood: desktop diode lasers, Glowforge, xTool, and CO2 machines all do. The files are plain SVG with red cut lines and one blue engrave image, the layer convention most laser software expects.
The strips are engraved on both sides, so the sheet has to be turned over between two jobs. The first job cuts the sheet's outline and leaves the scrap on the bed; that hole is a perfect jig. Turn the sheet over like a page, drop it back into its hole, and the second job lines up on its own. The cuts run in the second job, so they are exact to the side you just engraved.
Head-on, you see the front picture between the strips, and each strip's edge hides a sliver of it. Sixteen strips of 3 mm plywood on a 160 mm board hide about 30 percent; 2 mm material hides 20 percent. The tool shows this number as you adjust the settings.
No. The Agamograph Generator is browser-based and free. No sign-up and no account; your pictures never leave your browser. Designer Bee keeps only anonymous usage stats, like which settings get exported, to keep improving the tools.
Liked this one? These use the same kind of machine.
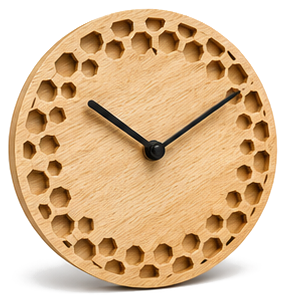
Pick a style, set the size, and export an SVG ready for laser cutting.
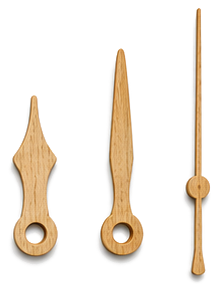
Shape the hour, minute, and second hands, export SVG or STL.
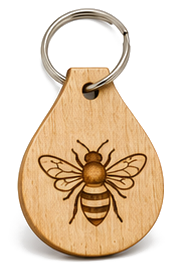
Personalized name tag with engraved symbol, export laser-ready SVG.